[work-in-progress as of 3 Dec 2018]
Date: 3 Dec 2018
1. Introduction
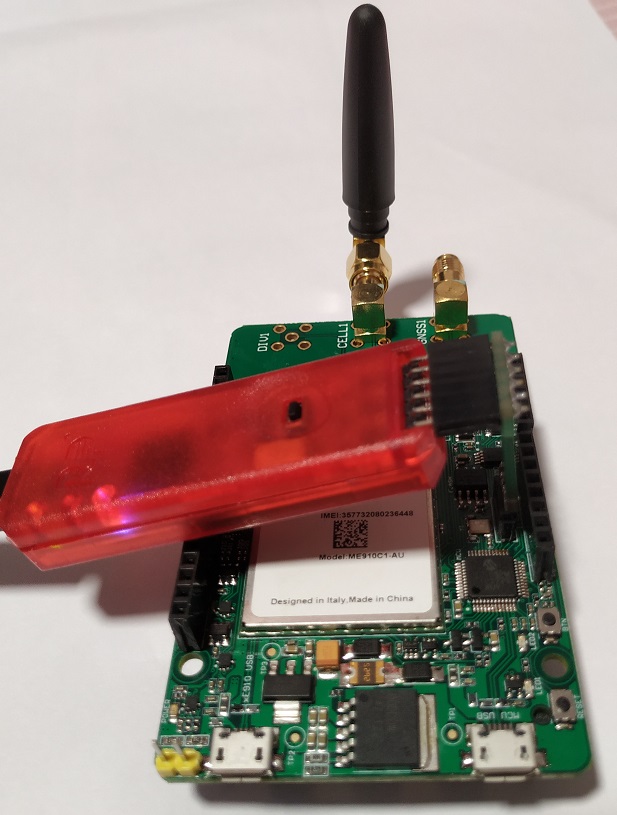
ARDI is a LTE eMTC/NB-IoT developer starter kit made by DIV Technology. Currently, there are 2 versions. Version A was launched on Feb 2018, comprises of Microchip PIC32 MCU, Telit ME910C1 Cellular Module, Rohm and Microchip Mems. Version B is launched on Sep 2018 with the addition of a 4xAAA battery holder. Both Microchip MCU and Telit ME910C1 are fully programmable. ARDI took on the shape of Arduino UNO so that developers can use off-the-shelf shields for rapid prototyping works.
2. Quick Start Guide


a. Connect a cellular antenna to the cell rf port. [Please make sure the antenna supports the correct frequency bands]
b. Check that a sim card has been inserted in the sim slot. Do make sure the telco sim supports nbiot.
c. Supply 5V DC to either or both the USB ports. [You may use your PC USB port or a power bank]
d. Open a browser and navigate to tcp.div.vn [check your device’s IMEI on the page]
^e. Open a browser and navigate to shnbiot.dev.devicewise.net, login using dwdemo88@gmail.com/$dwdemo88 [check your device’s IMEI on the dashboard]
^not available yet
3. Documentations / Application Notes / Datasheets
MICROCHIP AT30TS74-XM8M
ROHM KX126-1063
ROHM RPR-0521RS
4. [Basic] How to enter MCU Menu
For example, we use Advanced Serial Port Terminal.
a. Open Advanced Serial Port Terminal. For 1st timer, please add the below configuration @ File>>Preferences

b. Connect a USB cable from your PC to the MCU USB port of the board.
c. Go to Windows device manager to check the new port number
d. Open a session on that port number
e. Physically press and release the “BTN” button that is on the device
f. A menu will pop up and you can now modify settings such as destination server IP, server port, enable/disable GNSS reporting, update interval … etc
5. [Basic] How to use Telit ME910C1
a. Install Telit Windows 10 USB drivers. This step is important (Telit Windows 7/8 USB drivers).
b. Install TATC
c. Connect a USB cable from your PC to ME910C1 USB port.
d. You can now send AT commands over either “USB Modem #” ports depending on your port configuration. It is changeable via AT#PORTCFG
e. Open TATC and follow the clip
*On ARDI, PIC32 communicate with ME910C1 over UART0 interface
6. [Intermediate] How to program Microchip PIC32 MCU?
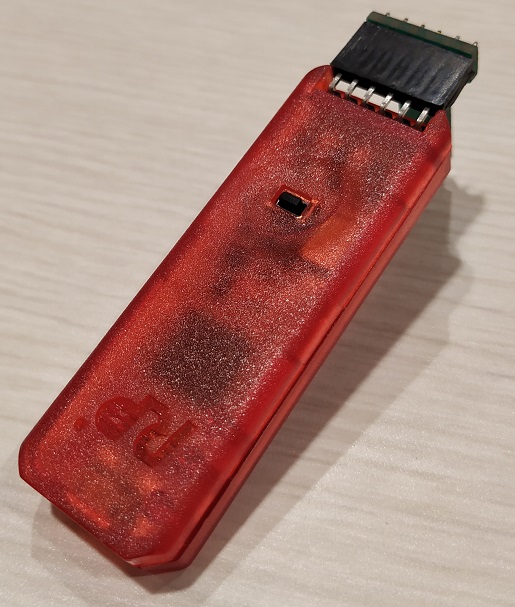
a. You will need a PICKIT3 at $47.95 or an authorized smaller copy RPT01-PIK3 from DIV at $29.99
b. Download and install MPLABX
c. Open MPLABX IPE
d. Connect PICKIT3 to ARDI [In this example, we powered the board using PICKIT3 only]
e. Follow the clip
7. [Intermediate] How to program Telit ME910C1 IoT AppZone?
Official IoT AppZone
a. Download the resources here if you are keen
b. Install Telit Appzone SDK 4.0.3 Beta from here
*Please contact Telit for the latest version of AppZone SDK as it might not be available on their website
*c. Follow the clip on how to patch the SDK
*d. Follow the clip on how to load a bin
- drag&drop the bin in the AZ C console in SDK
- press the rocket button
- at the moment the only way to stop the app is to delete the binary file from the module. at the moment, it can be deleted with AT#M2MDEL=/core/file_load but it is a temporary setup. We will have the commands to setup, select and stop the app as soon as possible.
*Please contact Telit if you need demo or support
8. Important Tips
a. Do not attempt to upgrade the firmware of Telit ME910C1 module by yourself. The coded MCU do periodically reset the ME910C1 during certain circumstances and will disrupt Telit’s firmware upgrade procedure, thus render your ME910C1 useless. Consult div.vn for help.
b. If you would like to use ARDI as a Telit ME910C1 Evaluation Kit, you can flash in “blank” code into the MCU. Consult div.vn for help.
9. How to get further support?
We understand that this page might not have what you are looking for. For example, we did not cover topics like MQTT, CoAP, DTLS, eSE, LwM2M, IoT AEP, PSM, eDRX, power management and etc. Thus, please do not hesitate to contact div.vn for any assistance.